Uncategorized

Slow cooker shredded Tandoori chicken

I love my slow cooker… it makes my life so much easier on a regular basis.

A favourite recipe of mine is shredded tandoori chicken… it’s so quick and simple to make, giving me portions in the freezer that I can just grab and take to work. I tend to have this with salad, wraps, pitta breads etc etc

You’ll be amazed how easy this is….


Recipe

Place a bag (700g) of frozen chicken breasts in the slow cooker and sprinkle over 30g of tandoori spice blend. After an hour the chicken will have softened a little. Turn it over and sprinkle on another 30g of the spice blend and add 100ml water. Leave for 5-6hrs on low. Removed the chicken and shred with 2 forks. If it seems a little dry then spoon in some of the juices from the slow cookerZ portion into Tupperware and freeze.

Can also be done with fresh chicken breasts… rub both sides with the spice blend, add the water and leave for 5-6hrs on low.

Yum yum

Uncategorized

Salted caramel blackberry blondies

Well these are utterly divine!!!

My boys love foraging for blackberries and then baking with them so I’m always looking for new recipes to incorporate the blackberries we pick. These blondies totally hit the spot… you seriously have to try them.

615C0737-F6B3-4931-B1F6-00CBFEA7B01E


Ingredients

The salted blackberry caramel sauce

90g condensed milk

1 tbsp golden syrup

45g caster sugar

50g margarine

50g blackberries

1/2 tsp salt

Melt the margarine, golden syrup, caster sugar and condensed milk in a pan stirring continuously until you have a thick golden caramel. Stir in the salt and blackberries mashing them with the back of the spoon and cooking for 3-5 minutes so the blackberries soften. Allow the caramel to cool completely in the fridge before using.

The blondie mix

200g margarine/butter

400g light muscovado sugar

2 large eggs

2tsp vanilla essence

240g plain flour

1/2tsp salt

16 blackberries

Preheat your oven to 180C.

Melt the margarine and sugar in a large bowl until smooth and combined. Add in the eggs, vanilla and salt and beat well. Stir in the flour until fully combined.

Line a large baking tin approx 25cm x 35cm with grease proof paper. Pour approx half of your blondie mix into the tin spreading out to the corners. Blob your blackberry caramel onto the batter avoiding the sides of the tin. Pour the remaining blondie batter over the spreading out best as you can. Place 16 plump juicy blackberries onto the top and bake in the oven for 35-45minutes.

4670795D-AA6F-43B6-8ED5-8755B1D29B6F

They are cooked when the centre is fairly springy to touch. Allow to cool completely before removing from the tin and slicing up.


Uncategorized

Jo’s Ultimate biscoff brownies

0E8B19FD-3570-4F69-9F49-D72B50B6A55F


Ingredients

(serves 12 brownies)

185g margerine/butter

185g dark chocolate

85g plain flour

30-50g Lotus biscoff spread

40g cocoa powder

100g white chocolate chunks/chips

18 small lotus biscoff biscuits

3 large eggs

275g caster sugar

Method

Preheat your oven to 180c or gas Mark 4

Break up your dark chocolate into a bowl and add the margarine/butter. Melt in the microwave for 1-2 minutes and stir until completely combined. Leave to cool slightly.

Crack your eggs into a large bowl and add the caster sugar. Use an electric beater to whisk until thick and frothy. This can take several minutes so be patient.

Once thick and frothy pour the cool chocolate mixture into the eggs and then mix gently with a spatula. try not to knock too much of the air out of the mixture – go slow and gentle.

Once combined sieve the flour and cocoa powder into the mixture and again gently fold in. Only mix until just combined.

Break 6 of the lotus Biscoff biscuits into pieces and add onto the mix along with the white chocolate chunks/chips. Mix and then  pour the mixture into a 20cm x 20cm lined baking tin.

1ABBD76E-3D05-4251-9A70-D9CA3D176164

Finally add blobs of lotus biscoff spread into your brownies pushing into the batter the best you can. Leave some drizzled on top and then place your remaining whole biscuits into the mix 1 for each slice.

9663DEA4-1C1D-45A5-B69C-E051012EC49F

Place in the oven for approx 25 – 35 minutes.

Check the brownies are cooked by inserting a toothpick into the mixture, it should come out clean. Be careful not to overcook or the brownies will lose that soft goey centre that you are after.

Leave to cool completely in the tin before removing and slicing into 12 squares.

*For added indulgence you can freeze small blobs of lotus biscoff spread beforehand and then stir these into the mix along with the chocolate chips. This will add extra pockets of biscoff spread when you bite into a slice.  Freezing biscoff in blobs helps them retain their shape even while baking.

Uncategorized

Thai meatball noodle soup

I can’t actually remember where this recipe originated from but I do remember it was solely because I was searching for recipes involving pork mince. During a weekly shop at Aldi I discovered that pork mince cost £1 less per 500g pack than the usual 5% less fat beef mince I had been buying and yet the macros were actually better. So I thought it would be a good idea to try the pork mince and once Home I began searching the web for a suitable recipe to try. This was one of the first that caught my eye and after making the first batch hubby and I knew it would become a regular meal to have in the freezer stash.

It takes me about 20-25minutes to make a batch (5servings) and it’s time well spent.


Ingredients

500g pork mince

2stalks of lemon grass finely chopped

2 spring onions finely chopped

A handful of fresh coriander leaves

1 vegetable stock cube

15g Thai green curry paste

10ml sesame oil

choice of stirfry veggies- peppers, mushrooms, beansprouts etc etc

Individual packed of straight to wok noodles


Method

Finely chop your lemongrass, half the coriander  and the spring onions. If you’re lazy like me just chuck the lot in a mini food processor.

Add the finely chopped herbs to your pork mince and mix well with your hands.

Roll the mince into 30 small balls. I make mine the size of a small bouncy ball.


5123296C-7A55-4750-A082-BAAEC3368D6A

Heat your sesame oil in a large pan and then fry the meatballs until they are all brown on the outside. I do this in 2 batches.

Next add any stirfry style veggies you want along with the 15g of Thai paste and the stock cube dissolved in approx 2l of water.

4A7E365B-C437-419D-B7EC-DAF15B3D6F75

Bring to the boil and then simmer for 5 minutes to ensure the meatballs are cooked through.

Finally add the remaining fresh coriander and stir.

7242FC14-2CFF-40E8-8E78-0ED4D1CFBEBF

If you are cooking this to eat straight away you can add your noodles with the stock and water however because I make this to go in the freezer for healthy lunch choices I let it cool and then box up into Tupperware trays. When I need a portion, I defrost it overnight, and then take it along with a packet of straight to wok noodles. At work I add the noodles into the soup and then heat the whole thing in the microwave.

4664FF9E-7148-4A25-B6D0-BBF7BD2E8A8E

Macros per serving

Calories approx 494

Protein 38g

Fats 13g

Carbs 54g

It’s delicious and filling and a really great recipe for over the colder months. Let me know what you think.


Uncategorized

Chocolate cake bites

612AD9AF-C825-49F7-A05F-3091DB727DCC

Those who know me well… either in real life or through IG… know that I just LOVE cake!!! Not a week goes by (or often a day😂) without me enjoying cake in some form. I’m an avid baker so a lot of the time it’s homemade cake which also means it’s easier for me to track the macros.

As with most, there are times where I need to cut back my cake consumption… so baked bites like these little gems help to satisfy my cake cravings without the belly busting calories.

These little beauties are only 70 calories  each and have a rich chocolate flavour balanced by a sweet Greek yogurt icing. Who wants the recipe??? Of course you do… why wouldn’t you?


Ingredients


(makes 6)

Cake ingredients

25g self raising flour

15g cocoa powder

2 eggs

4tsp stevia powder

1tsp baking powder

‘Icing ingredients’

120g low fat Greek yogurt

18g sugar free angel delight/ jello pudding  mix


Method

Separate your eggs and whisk your whites until lightly and fluffy.

Mix all your other cake ingredients including the egg yolks in a small bowl.

Gently fold in the egg whites using a metal spoon and being careful not to knock too much air out of them.

Share the mix equally between 6 silicone cupcake cases.

Bake in a preheated I’ve  at 140c for 25-30mins.

Allow to cool completely before icing.

AA99CE39-7067-4E2E-A970-2F5410A8B873

Make you icing by simply mixing the angle delight/jello mix with the Greek yogurt until it starts to thicken.

Either spread onto your cakes or pup on with a piping bag and nozzle.

Store in the fridge.

Enjoy when cravings hit!!!

Uncategorized

Chicken and chorizo cassoulet

4BE7EE7A-64F2-4A56-B978-B99B9EE1E9B7


I love this meal…there as so many elements that just make it an amazing meal which has become a favourite of both mine and my husbands. It’s also my go to meal for dinner parties as it always recieves rave reviews and can be made in the slow cooker meaning I’m not slaving away.

If you like chicken, chorizo, a spicy tomato sauce and garlic bread then you’re  going to love this! My favourite part is the garlic bread topping that has a crispy top but a soggy underneath thanks to soaking up the delicious sauce!

I hope you try it, you really should!


Ingredients

(serves 4)

1 large red onion

1 tin of cannelini beans

1 tin of chopped tomatoes

200g passatta

4 chicken breasts

200g chorizo

1tsp paprika, red chilli flakes, mixed dried herbs and chopped garlic

1 vegetable oxo cube

50ml red wine

1-2 garlic bread baguettes

Method

Slice the chorizo and place into the slow cooker with the red onion, red wine, tinned tomatoes, passata, canellini beans and spices.

E85B240D-7ADB-47B9-BCDC-89CC5D57DAAF

Mix all together and sit your chicken breasts in the sauce then cook on low for 6-8hours. The time will depend on the size of chicken breasts you are using. 6hrs for small and 8hrs for large.

F6CEE9FD-E587-42D1-9B51-89CB0BD410CF

20minutes before you’re ready to serve chop your garlic baguettes into chunks and scatter over the top. Place your slow cooker pot into the oven for 15minutes at 180C

2109F813-CC2F-47B6-8CCA-0C56E6356608

I usually serve this with rice but of course there are other options.


Uncategorized

Healthy and versatile white sauce

IMG_7205

I wanted to share this ‘white sauce’ recipe as it is the most versatile and healthy sauce I use when cooking for my family. My youngest, Oliver, once went through a phase of refusing to eat any ‘red sauces’ making meal times difficult as a standard tomato sauce on pasta was a regular occurrence in our house. I did start buying jars of carbonara sauce which he would eat but I wanted a sauce that we could all enjoy and I personally wasn’t keen on the nutritional info for the bought jar.

This sauce is so simple to make and yet can be adapted easily and will accompany many dishes. On its very basic level I often just make it in a jug in the microwave and it’s ready in minutes. If I’m wanting to get more flavour in I will make it in a pan.

In our house it gets called ‘the creamy white sauce’ but there is no actual cream involved….the basic ingredients are chicken stock cube, milk and cornflour. That’s it!!!

I’ll share the microwave method as well as the pan method so you can see how you could easily add extra flavours and make his sauce so versatile that it can be used for various pastas or pies.


Microwave ‘white sauce’


Ingredients

1 chicken stock cube

300ml boiling water

12g cornflour

30-60ml milk of choice

Method

Crumble the chicken stock cube into a jug and pour on 300ml of boiling water.

In a small bowl or cup put you cornflour and add some milk. Mix well so that the cornflour dissolves into the milk.

Pour the milk mixture into you stock and stir.

Place in the microwave and heat for 30second increments, stirring after after each 30seconds.

Once the sauce has thickened it is ready to use.


Pan method ‘white sauce’

To vary this sauce and add extra flavours use a pan.

Begin by lightly frying mushrooms and onion then add a little garlic.

Pour in a splash of white wine and stir well.

Next add 300ml of chicken stock.

In a small bowl or cup dissolve your cornflour in the milk.

Pour the milky mixture into the pan and stir quickly as the sauce thickens. If it gets too thick add more milk of more water.

The sauce is ready when it is thick. Add extra herbs to suit your dish!

I use this sauce in lasagne and stir cheese in at the end.

I do it without mushrooms and onion for my kids as they can be fussy about ‘bits’ in their sauce!

I’ve added a squeeze of lemon juice and served it with tagliatelle and prawns.

The possibilities are endless just add whatever extras you enjoy to the basic recipe.


Uncategorized

Protein Victoria Sponge cake


IMG_5452
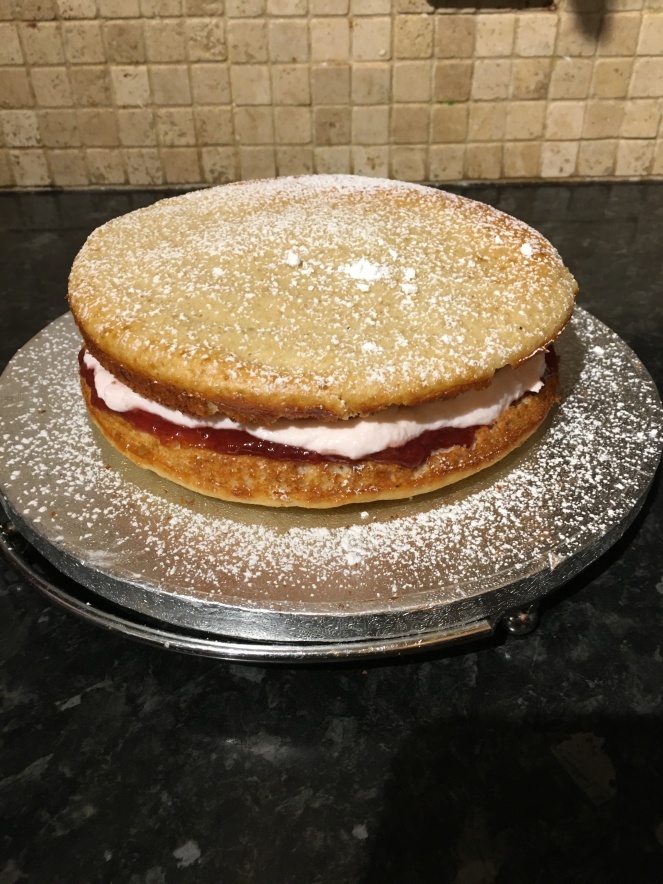
This is such a classic cake but here I’ve given it a make over and the result is a protein rich version that is still moist and fluffy and tastes amazing. I love developing more macro friendly versions of cakes and treats. It keeps me sane and on track with my fitness journey knowing I can still have cake everyday without ruining my progress.

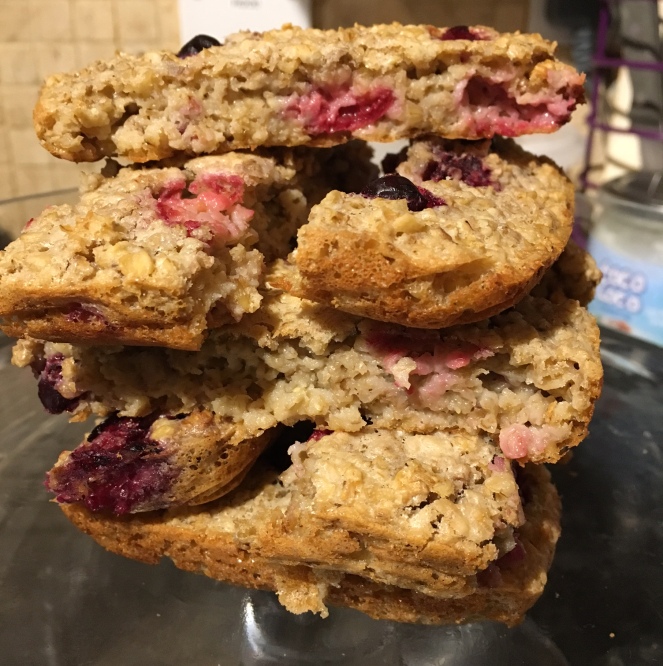
This sponge mixture was one of the first I developed after having tried other recipes online but being bitterly disappointed with the outcome. Baking with the addition of whey can be tricky. It doesn’t react well to being heated often leaving you with something that resembles and probably tastes like a rubbery sponge ball from the school PE cupboard. However I was not deterred by my failures but instead set out to develop a sponge mix that did taste nice and was moist and light to eat.

After much tweaking, this sponge mix was the final result. Its easy to make and the ingredients are all readily available. I’ve also discovered that it freezes well (without icing etc) so can be kept in the freezer, defrosted and then decorated when you want it.

Ingredients

80g ground oats (just blitz until its like flour)

60g (2scoops) vanilla whey

15g vitafiber*

2 tsp baking powder

1whole egg

60g liquid egg whites (2 fresh egg whites)

100g unsweetened apple puree/sauce

60g low fat greek yogurt

2tsp skinny syrup/vanilla essence


Method

For the cake…

Preheat your oven to 160C and grease and line to 6 inch cake tins.

Put all your dry ingredients into a bowl and stir together.

Add all your remainig ingredients and mix well with a hand mixer.

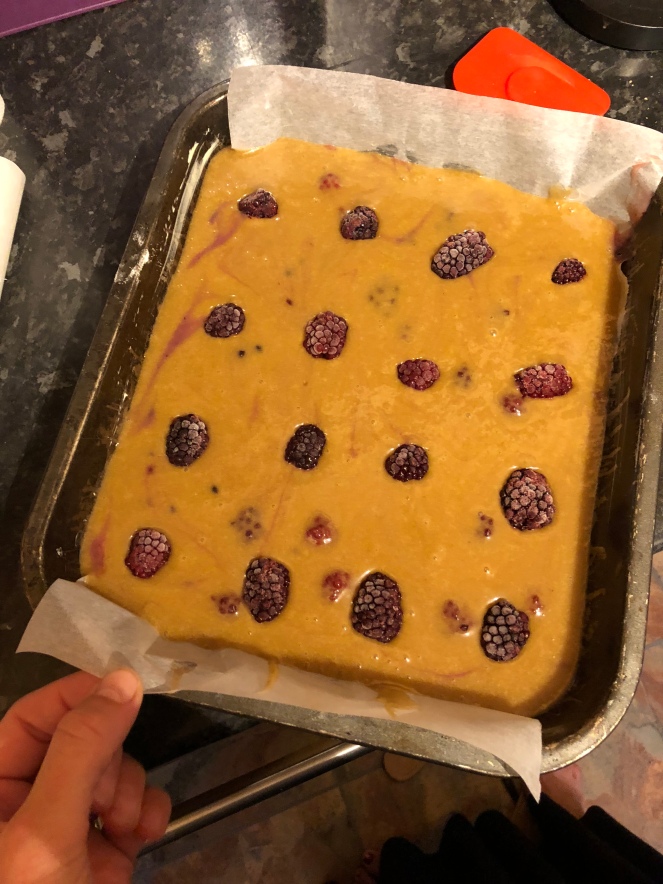
Pour you batter equally between the 2 cake tins.

Bake for 12-15 minutes until lightly golden and fully set. Insert a cocktail stick and check it comes out clean.

Leave to cool a little before removing from the tins and cooling fully on a wire rack.


For the icing…

120g low fat Greek yogurt

12g no added sugar strawberry angel delight

Mix the 2 together in a bowl until fully combined.


Once cool sandwich your cake with some reduced sugar strawberry jam and your creamy strawberry frosting. Dust lightly with icing sugar.


*Vitafiber is like a powdered sweetener…I haven’t tried the recipe with Stevia or another powdered sweetener but I’m guessing it should give the same results. If you give it a go I’d love to hear how it turned out.

This cake needs to be kept in an airtight container or the sponge will harden.

Macros for just the sponge recipe…

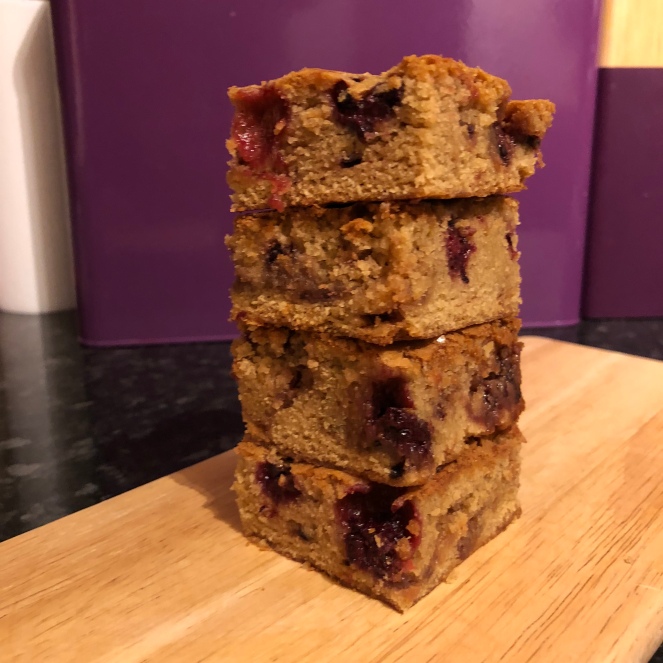
Per slice when cut into 6 servings

129cals

C11g

F3g

P13g

Macros for 1/6th of the creamy frosting…

21cals

C2g

F0g

P2g

Uncategorized

Healthy Blackberry muffins

IMG_2655

So it’s that time of year again where we try to entertain the kids without spending a fortune each day for 6wks! Well actually it’s not as hard as you think if you get creative with your ideas. Kids are simple beings….well mine are…they just want to be allowed to play outside and burn off all that energy they seem to have. Now the rain can make this a little tricky…but actually the kids don’t mine the rain…it’s us mummies that would rather avoid it. After a couple of rainy days earlier this week we jumped at the opportunity to get outside during a dry spell. We donned our wellies and raincoats and set off with no agenda at all, other than to explore.

IMG_2465

I parked up by a cut through that led into some woodland and as we chanted the words to ‘We’re going on bear hunt’, we trudged through the mud and long grass enjoying the fresh air and freedom. It didn’t take us long to discover a massive patch of wild blackberry bushes with an abundance of juicy blackberries just waiting to be picked. Well I wasn’t going to spoil the kids fun and so agreed we could pop home to get some containers and collect the treasure we have found.

IMG_2519

A little while later we retuned triumphant with a massive haul of blackberries and lots of ideas for what we could do with them.

Top of my list was muffins…but in the back of my mind was the want to not spoil all my recent efforts at getting leaner for summer so decided that healthy muffins would be the order of the day. These turned out way better than I anticipated and didn’t involved refined sugar or butter. They were super easy to make and my 5year old actually did most of the work with just a little supervision. Into the oven they went and the smell that filled the house was like that of a bakery first thing I the morning. Divine!!

So I couldn’t not share this recipe…at just 100cals per muffin EVERYBODY needs these in their life. Give them a go and let me now what you think!

IMG_2649

Ingredients

80g rolled oats
120g plain flour
24g coconut sugar
1 1/2 tsp baking powder
1/2 tsp bicarbonate of soda
1/2 tsp cinnamon
1 large egg
225g low fat Greek yogurt
80ml soya milk
40g Apple puree (babyfood)
40g zero calorie maple syrup or honey etc
Vanilla essence of skinny syrup
140g blackberries
7g coconut flour

Method

Preheat your oven to 170C.
Mix all your dry ingredients (except the coconut flour) in bowl.
Mix all your wet ingredients (except the berries) in a bowl.
Pour the wet into the dry and mix until just combined.
Sprinkle 7g of coconut flour onto your berries and shake lightly to coat.
Add the blackberries and gently stir.
Spoon into 12 silicone muffin cases and bake for 20mins.
Allow to cool completely before removing from the muffin cases.


Macros per muffin
100cals
P4g
C17g
F1.5g

*coating the berries in flour prevents them from sinking as they bake.

*If you don’t have zero calorie maple syrup then the real stuff or even honey will do but this will effect the macros.

Uncategorized

Healthy oat and fruit muffins

img_6523.png

So for those who follow my Instagram page you will have seen that I’m a HUGE lover of cake and all sorts of yummy baked goodies. It’s rare that a day goes by without cake or biscuits being involved so it has become important to me to find some healthy and more macro friendly versions of cakes and biscuits.

These muffins are made without any refined sugar and no butter/margarine either. And yet they taste lovely and never last long in our house.  Jacob, my 6yr old, is the worst offender for devouring these as he is such a lover of fruit and berries that he can’t resist…and given they are sooooo healthy I really don’t mind that he consumes 2 or 3 in one sitting.

I’ve made various flavour combinations and they’ve all turned out great, I’ve even made them in a tray and cut them into bars. Give them a try and let me know what you think.

Ingredients

(Makes 8 muffins)

125g rolled oats

175ml almond milk

1 small egg

15ml/1tbsp coconut oil – melted

1 tsp baking powder

60g fresh chopped fruit or berries of choice

45g apple puree (baby food works great)

2 tbsp skinny syrup/ sweetner of choice

Method

Soak the oats in the milk with 1 tbsp of skinny syrup. Leave for 15-20 mins to allow the oats to absorb most of the liquid.

Add the egg, melted coconut oil, baking powder, apple puree, remaining skinny syrup and half of the fruit/berries to the soaked oats and mix well.

Divide the mixture into 8 silicone muffin cases and then place the remaining berries on the top.

Bake at 170C for 25 – 30 mins.

Allow to cool completely before removing from the silicone cases.

Can be enjoyed cold or warmed gently.


The skinny syrups I use are from www.trkg.co.uk/ where you can get a 10% discount with the code  – mummyjo10

They are available in a huge range of flavours and have zero calories or carbs to worry about. The fruity ones go great in yogurt and porridge and work great in this recipe.

I often like to enjoy these healthy oat muffins warmed up gently and with a small serving of ice cream.


Why not try baking them in a tray and cutting into slices instead. Just as yummy!!

IMG_0887